How difficult is 3D printing right now? Will 3D printers be as ubiquitous as iPhones? Will they save the world? To learn more, the author asks that you think of 3D printing as a game — a slow game.
By Sarah Awad

Printed at Advanced Media Studio, New York University
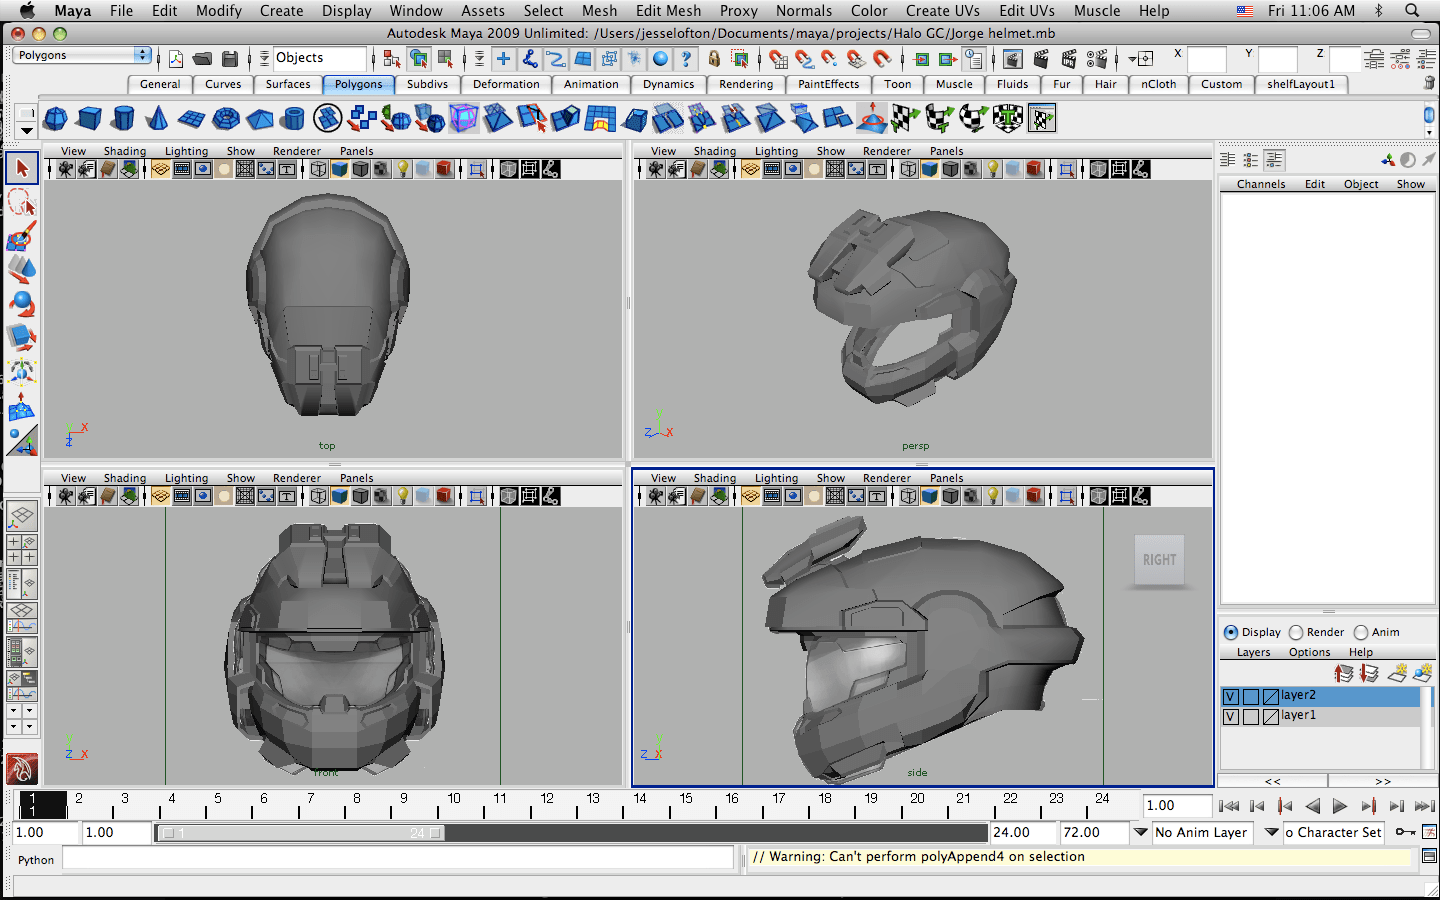
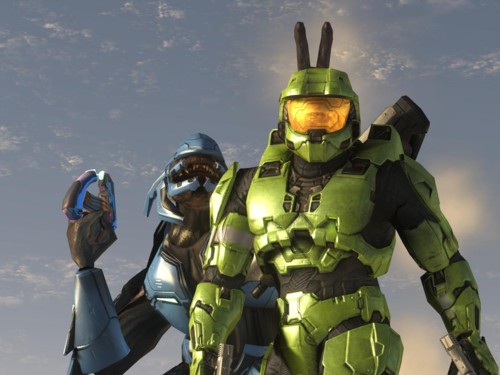
For your consideration, this is a 3D printed Halo Spartan. Pretty cool, right?
You have probably seen 3D printing being discussed as a bubbling under, hot new thing. You sort of think you know how it works, but not really. Is it just wax spewing from a nozzle, or is it truly magic?
Well, to get a better idea, why don’t we play a game?
Step onto the game board. You are now a player working your way through a virtual world that will eventually collide with reality!
Level I: Modeling
Supermodel
It’s time to build our character, but this is no point-and-click process. In fact, it could be seen as a game itself!
Modeling for 3D printing is not an easy task; the learning curve is curvaceous and specific indeed. The protocol is completely different than that of modeling for animation, characters and props built to only function within cyberspace. At the end, the model has to hold up in reality; it has to stand, bend, and/or withstand X amount of force.
The rules? Here they are:
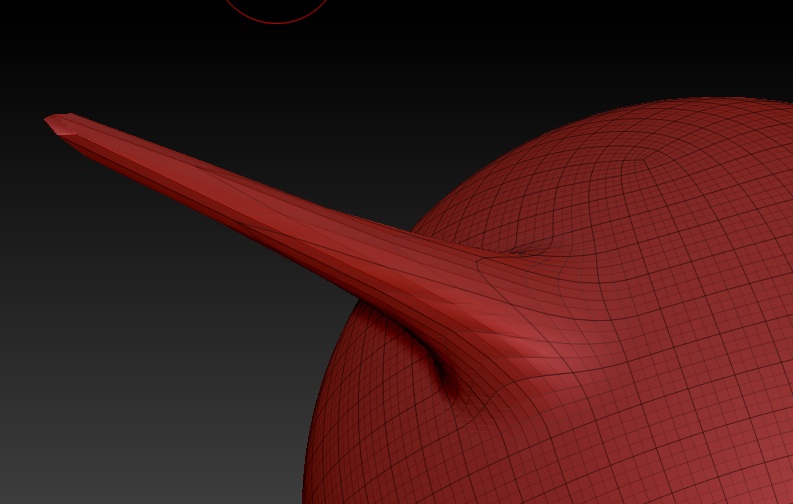
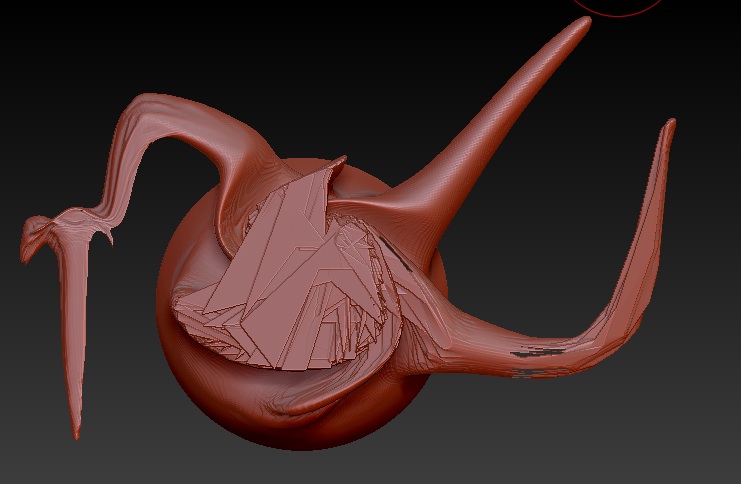
Geometry in the 3D modeling program, ZBrush
A model, in this case, the Spartan, is made up of geometry, a series of triangles or quads that fit together across the model and give it shape.
In order to create a printable model, the geometry must agree with a series of specific and inflexible requirements.
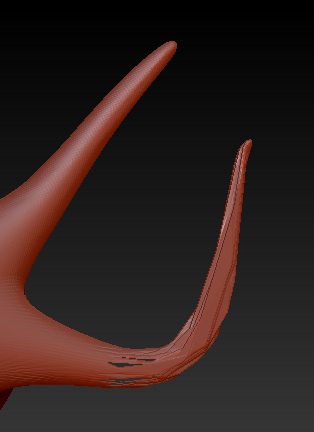
Top tentacle: Printable, Bottom: Not So Much
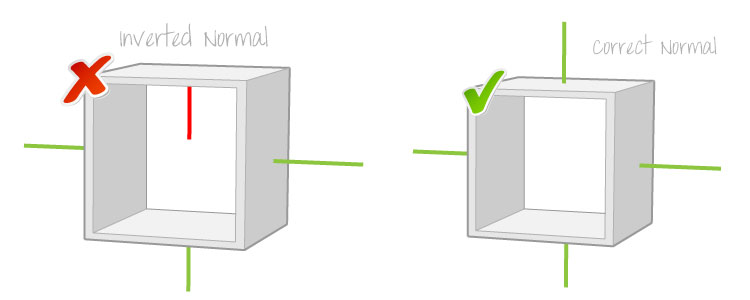
Inverted Normals
Ideally, the player is aiming for “closed geometry.” Think of these as shapes with dimension, or walls; a square is not printable, but a cube is.
The key is to avoid common errors: Holes in the geometry that the printer cannot read, inverted normals (when the geometry is essentially inside out), and floating pieces of geometry not connected to the main model. If infractions go unfixed, it’s game over.
Sounds easy enough, but from conception to export, breaking the rules is easier than following them. 3D modeling programs can be overwhelming (especially for beginners), and at points it can be very difficult to physically see problems with a model.
HOT MESS
That’s something that can be overcome with practice and education, but for now, you have to be on top of your game – all the time. Errors can arise when the model is exported as a different kind of file, but the majority of issues come from unconscious modeling. If the player is not constantly mindful of how she is stretching, rotating, and texturizing geometry, this puzzle of printability can quickly melt into a crumpled virtual ball, and repairing and fixing models can take hours on its own.
Level II: Initialize Printer
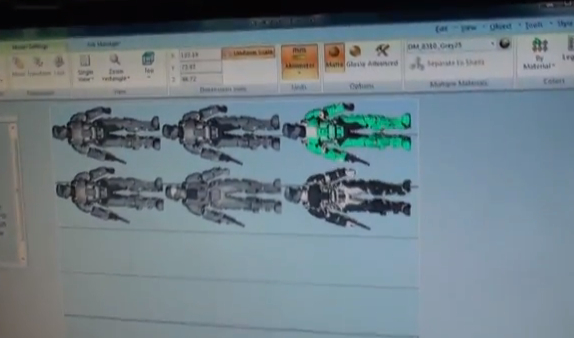
Spartan Models on the Connex500 Software
Character completed — time for a boss battle!
After being exported as a file type readable to the printer, your Spartan is uploaded into the printer software.
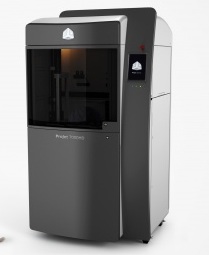
This is the proving ground—model versus printer. It’s the true test that determines your ability to follow the rules. In the case of the Stratasys’ Connex500 printer (on which our Spartan was birthed), the model is “placed” on the print platform, and its printability is “validated”. Yes, 3D printing has its own lexicon.
Level III: Printing
With this level beaten, it’s time to sit back and watch the action!
Essentially, you will make a Spartan Sandwich; the print software will read the model as slices, or thin horizontal cross sections of the model. Slice by slice, layer by layer, the printer builds the Spartan out of the plastic material and an adhesive.
If the model were a sandwich, the slices would kind of act as bread and the adhesive as vegetable cream cheese. The printer will drop a layer of plastic/powder/chocolate onto the platform, and atop that, drop the adhesive layer, which is shaped as a slice.
The adhesive is added by a print head that moves across the material like an inkjet print head upon paper. This will adhere with the next layer of material added on top, and so on.
The printer will also create support material to assist the build, constructing a layer of disposable stuff around the model to help keep its shape during printing. This support material will be removed in post-production.
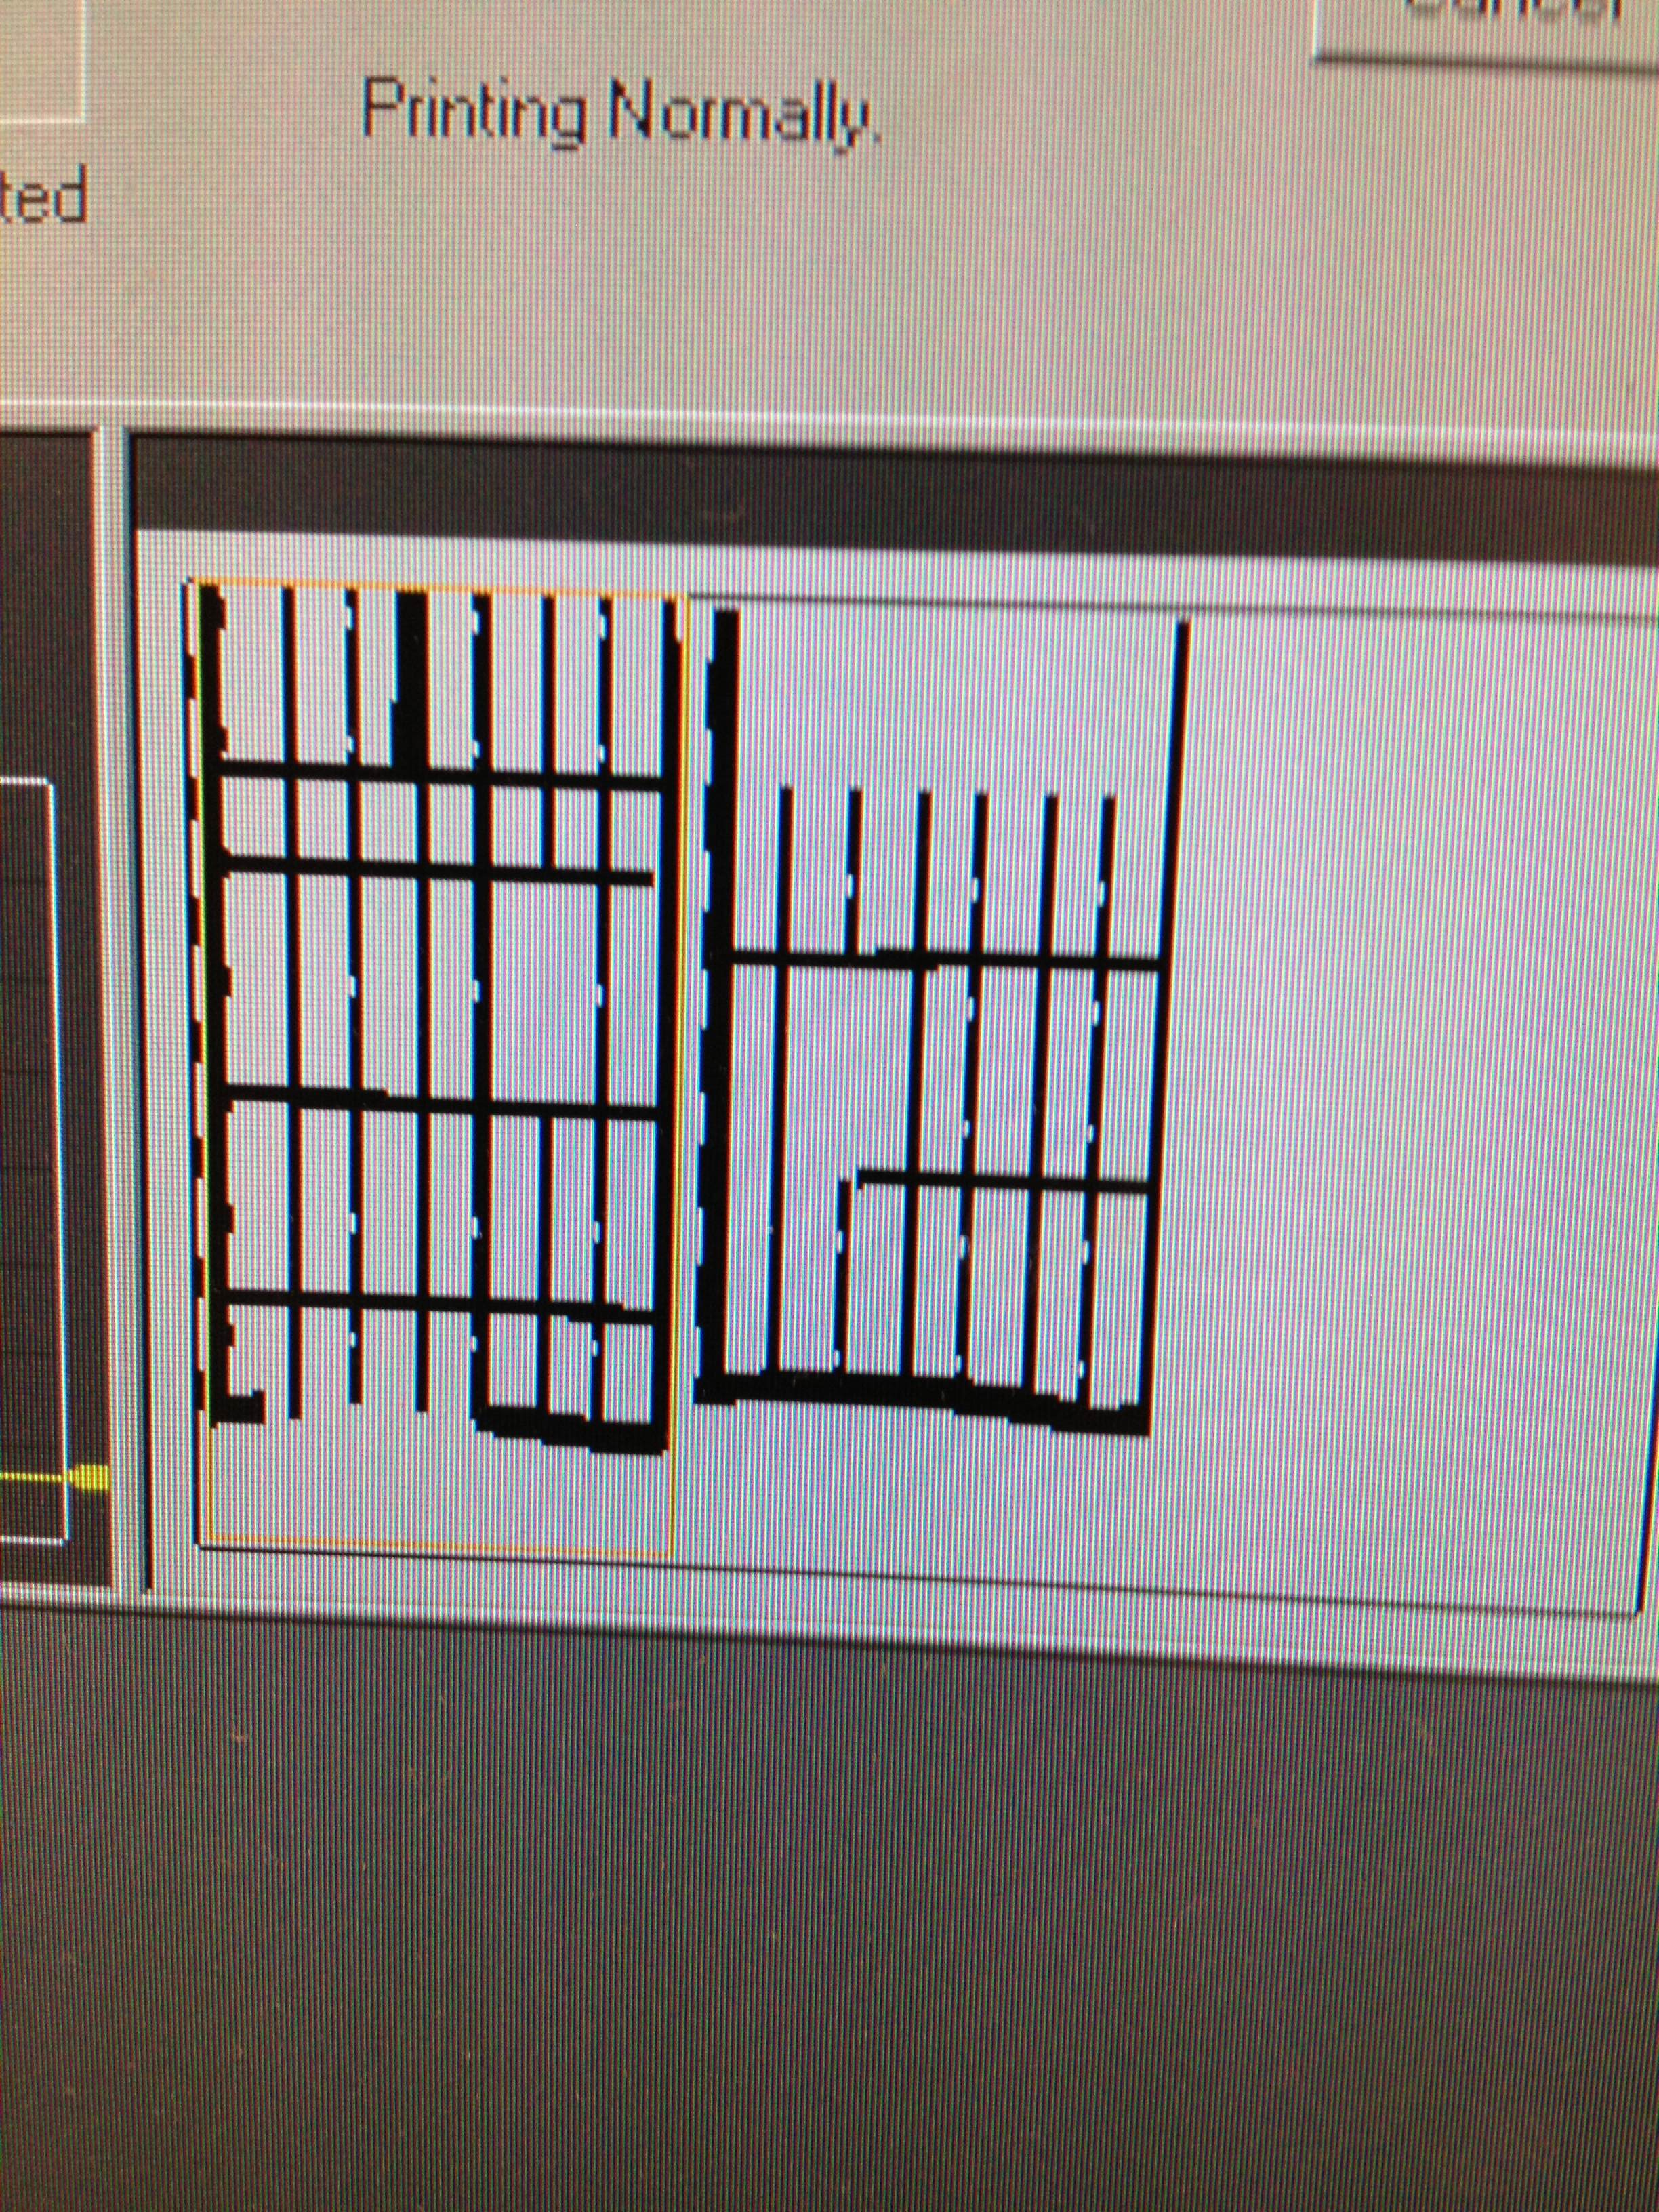
A slice of a model
Duration is all-dependent on the model. A printer like the Connex500 can print up to 72 hours straight. But our Spartan would probably take a mere several hours to finish. If you think that’s too long, hey, new developments are happening everyday. Dot matrix printing of an image back in the day took a long time, too.
This slicing/layering process is a standard style of printing, and most of the printers on the market work in similar vein, but will differ in material and slightly in execution; each printer, of course, has its pros and cons, and one’s choice of printer can vary from project to project, level to level.

SO LADIES AND GENTLEMEN, CHOOSE YOUR WEAPON!

In a printer like the ZCorp 650, a white gypsum powder and a superglue-esque adhesive are used to construct prints with canyon-like striations. This printer also prints in color, using CMYK print heads found in your standard inkjet printer.

The Stratasys Connex500 drops a layer of plastic material onto the print bed platform, then exposes the material to a UV light that solidifies it.
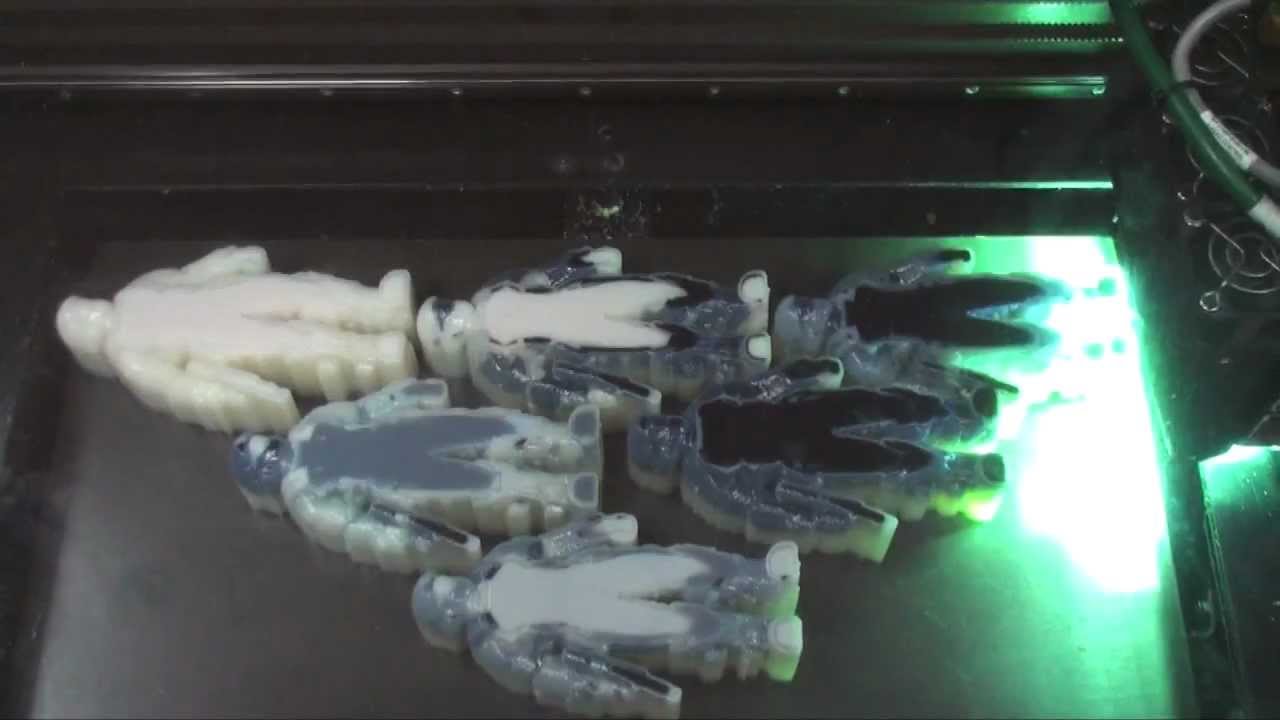
Like lasers? An SLA or SLS printer exposes a layer of liquid (SLA) or powder (SLS) to a laser light that moves across it in the shape of slices (It looks like the Tron LightCycle!). The treated layer is then lowered into a vat of the material, where it picks up another layer to be zapped.
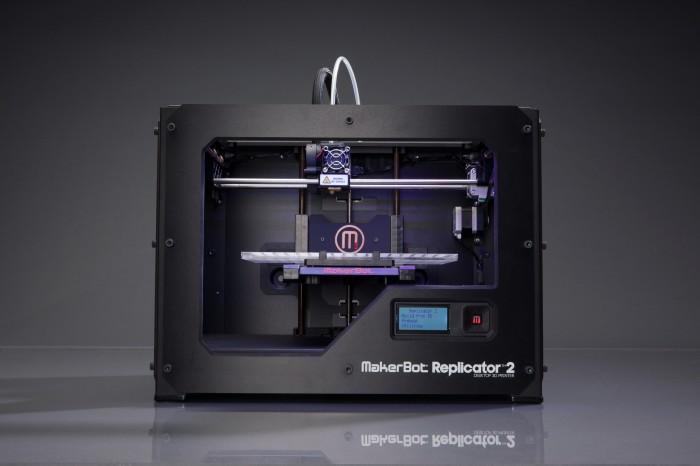
The trendy desktop printer Makerbot uses an organic PLA plastic (or stronger ABS plastic) that extrudes through a cone shaped device. It also bloops and pings like an old school video game.
Level IV: Post-Production
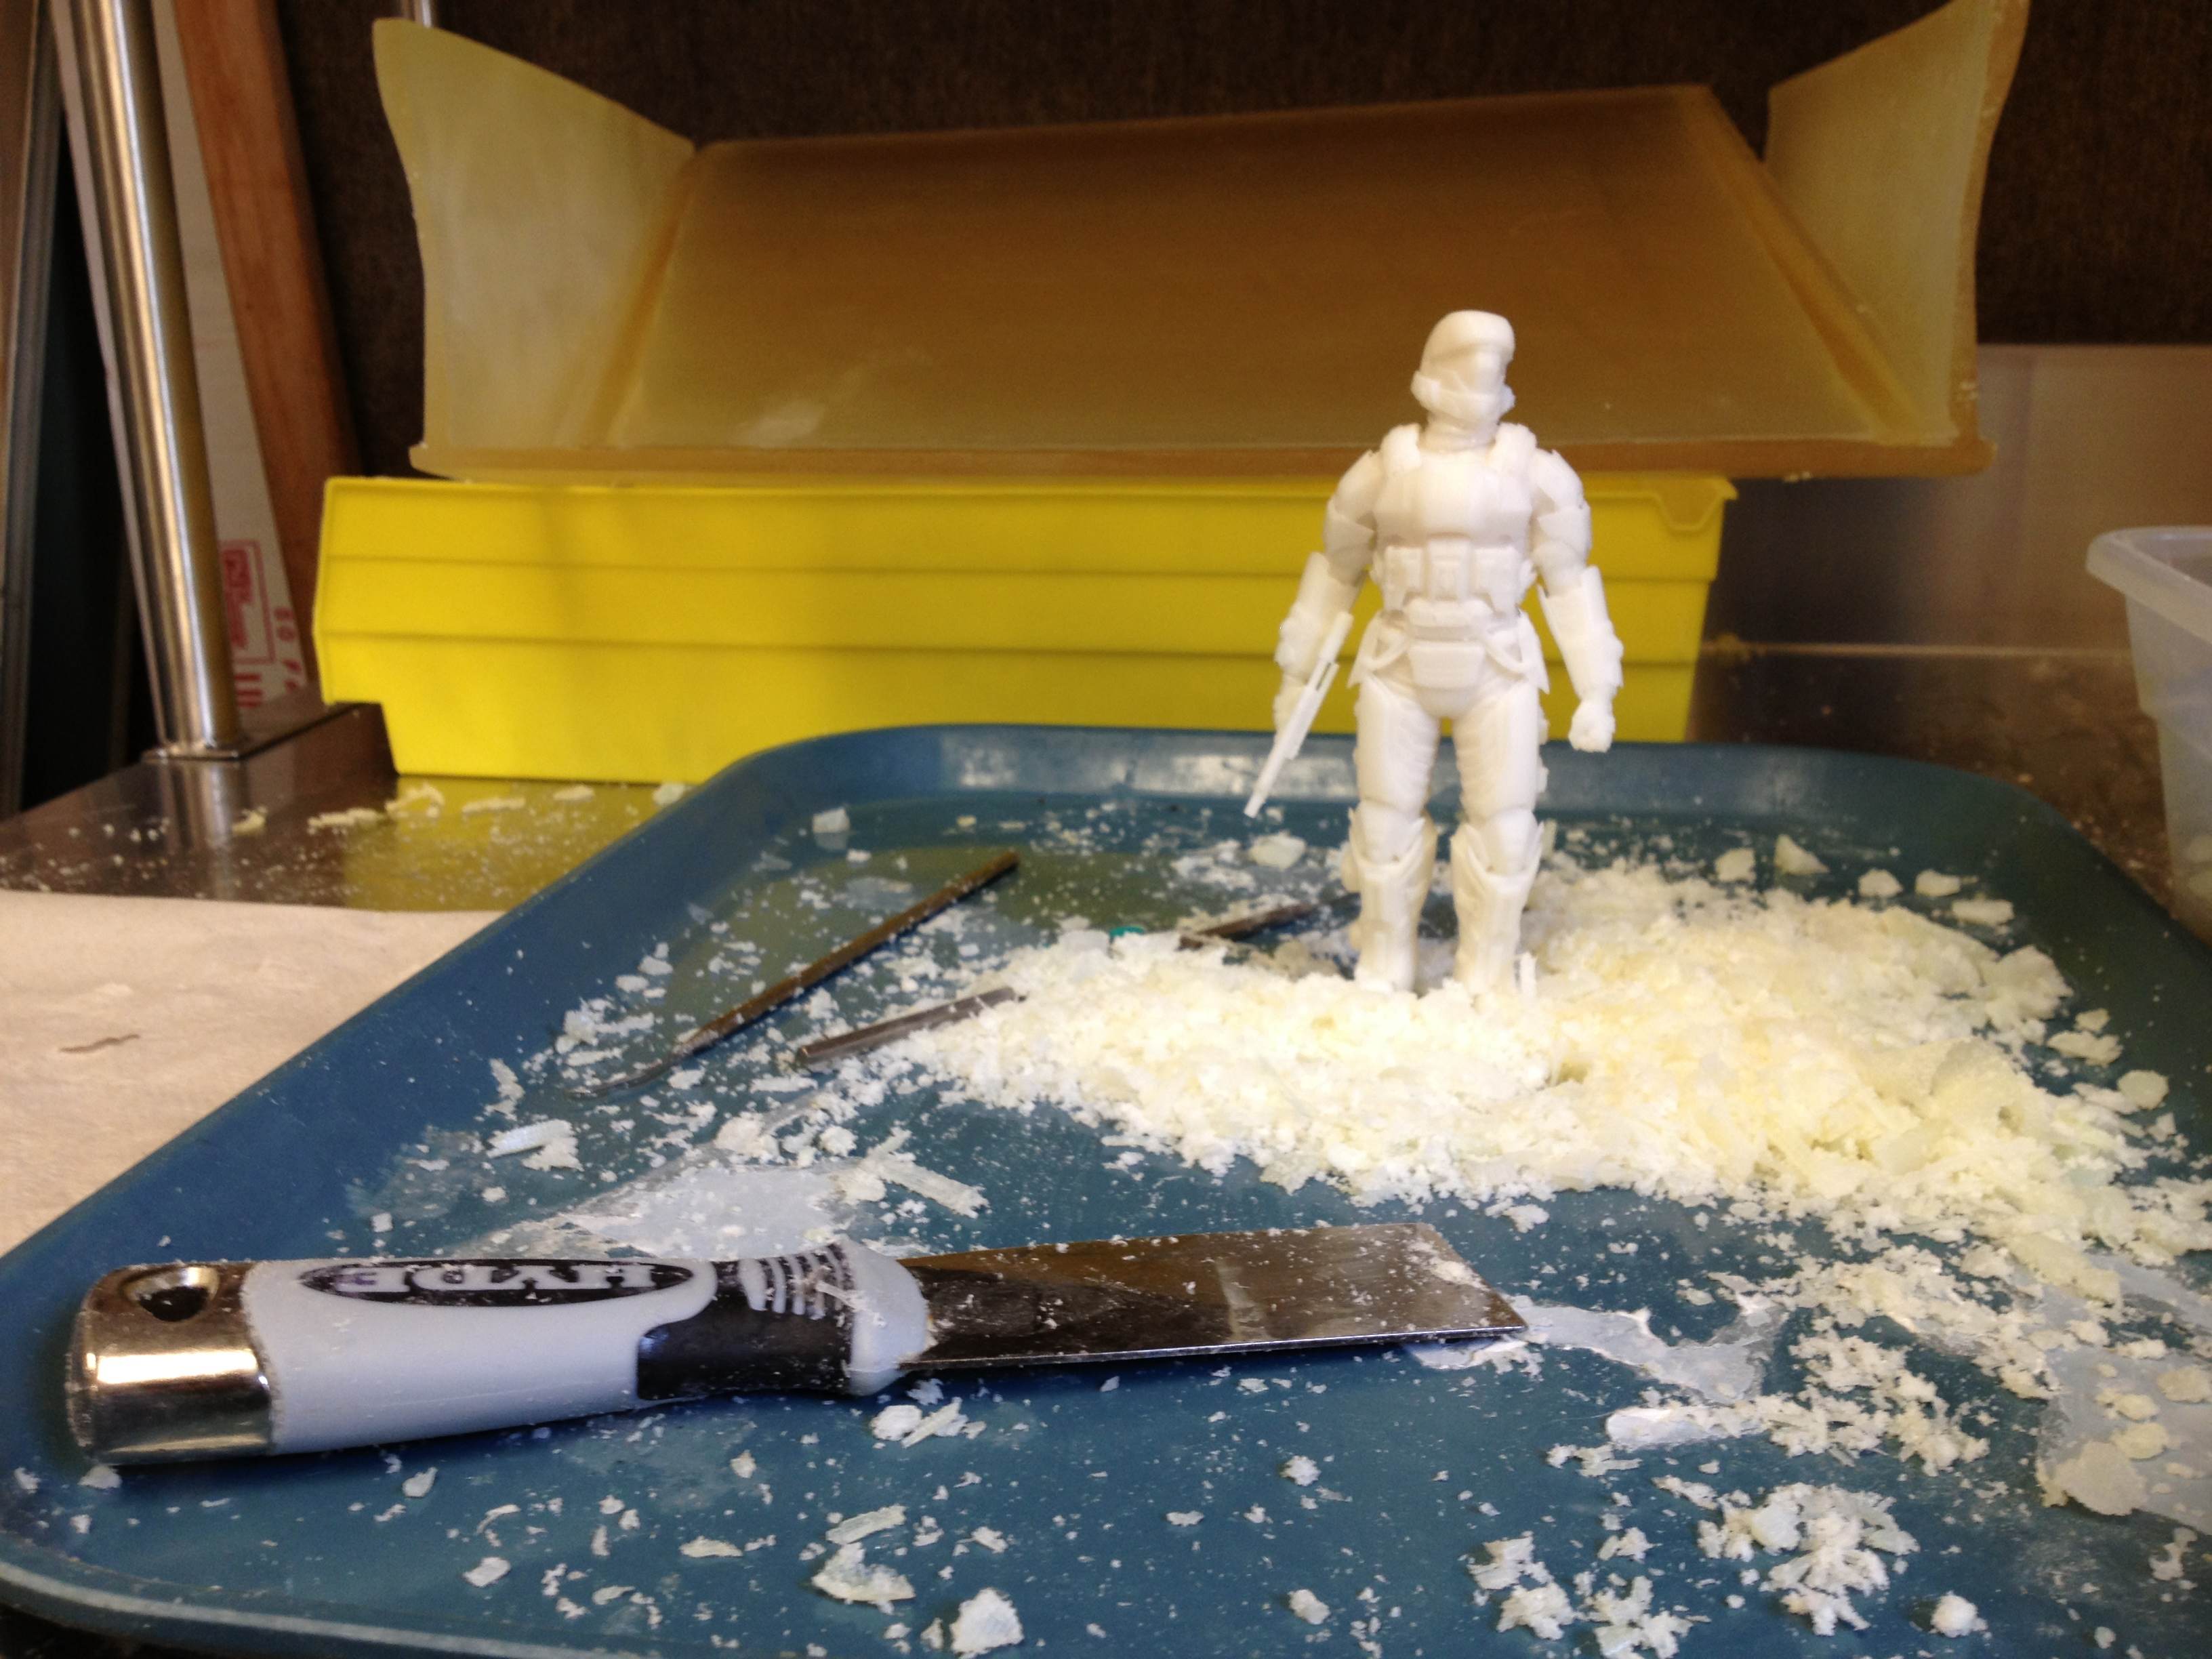
Support Material: 0, Spartan: 9000
Let’s finish him off!
Whoa, slow down! Slow the heck down!
This is not the Jetsons, where Judy pulls her ready-to-eat hamburger out of the machine. Once a model is printed, there is still a laborious process to victory. From cleaning to sanding, post-production is a specific, time-consuming process, that can take anywhere from several hours to several weeks to complete.
It’s a common misconception – people expect the process to be lightning fast. It’s not.
Post-production on models can make or (literally) break the piece; this is the period where it all comes together, both practically and aesthetically.
The model is first cleaned of its support material (blown off as with the Zcorp powder, power-washed like plastic models, or tweezed like SLA models, etc.) which, depending on the model, also takes time. Just as you would play the kids game of Operation, a steady hand and watchful eye are a must, for in this stage the model is at its weakest; you are removing the very fortress that keeps it safe. This makes breakage or deformation at this stage common.
From this point onward, a multitude of decisions can be made in finishing. A model can be sanded, waxed, spray painted, dipped in Superglue etc. to achieve the final desired look.
Mission complete!
With the skills in pocket, it all comes down to an element vital to making any video game: iteration. With each print one makes, with each failed or wonky model produced, the player skills are honed, the process understood, and through emergent gameplay, the player raises the bar creatively one notch further.
It’s like a puzzle. But ultimately, it’s real fun!
Writer Sarah Awad is the host of the Circle’s video program, Full Circle.